
Rendering semi-realistic Landscapes in the browser
how to use custom shaders in three.js to improve visual fidelity dramatically
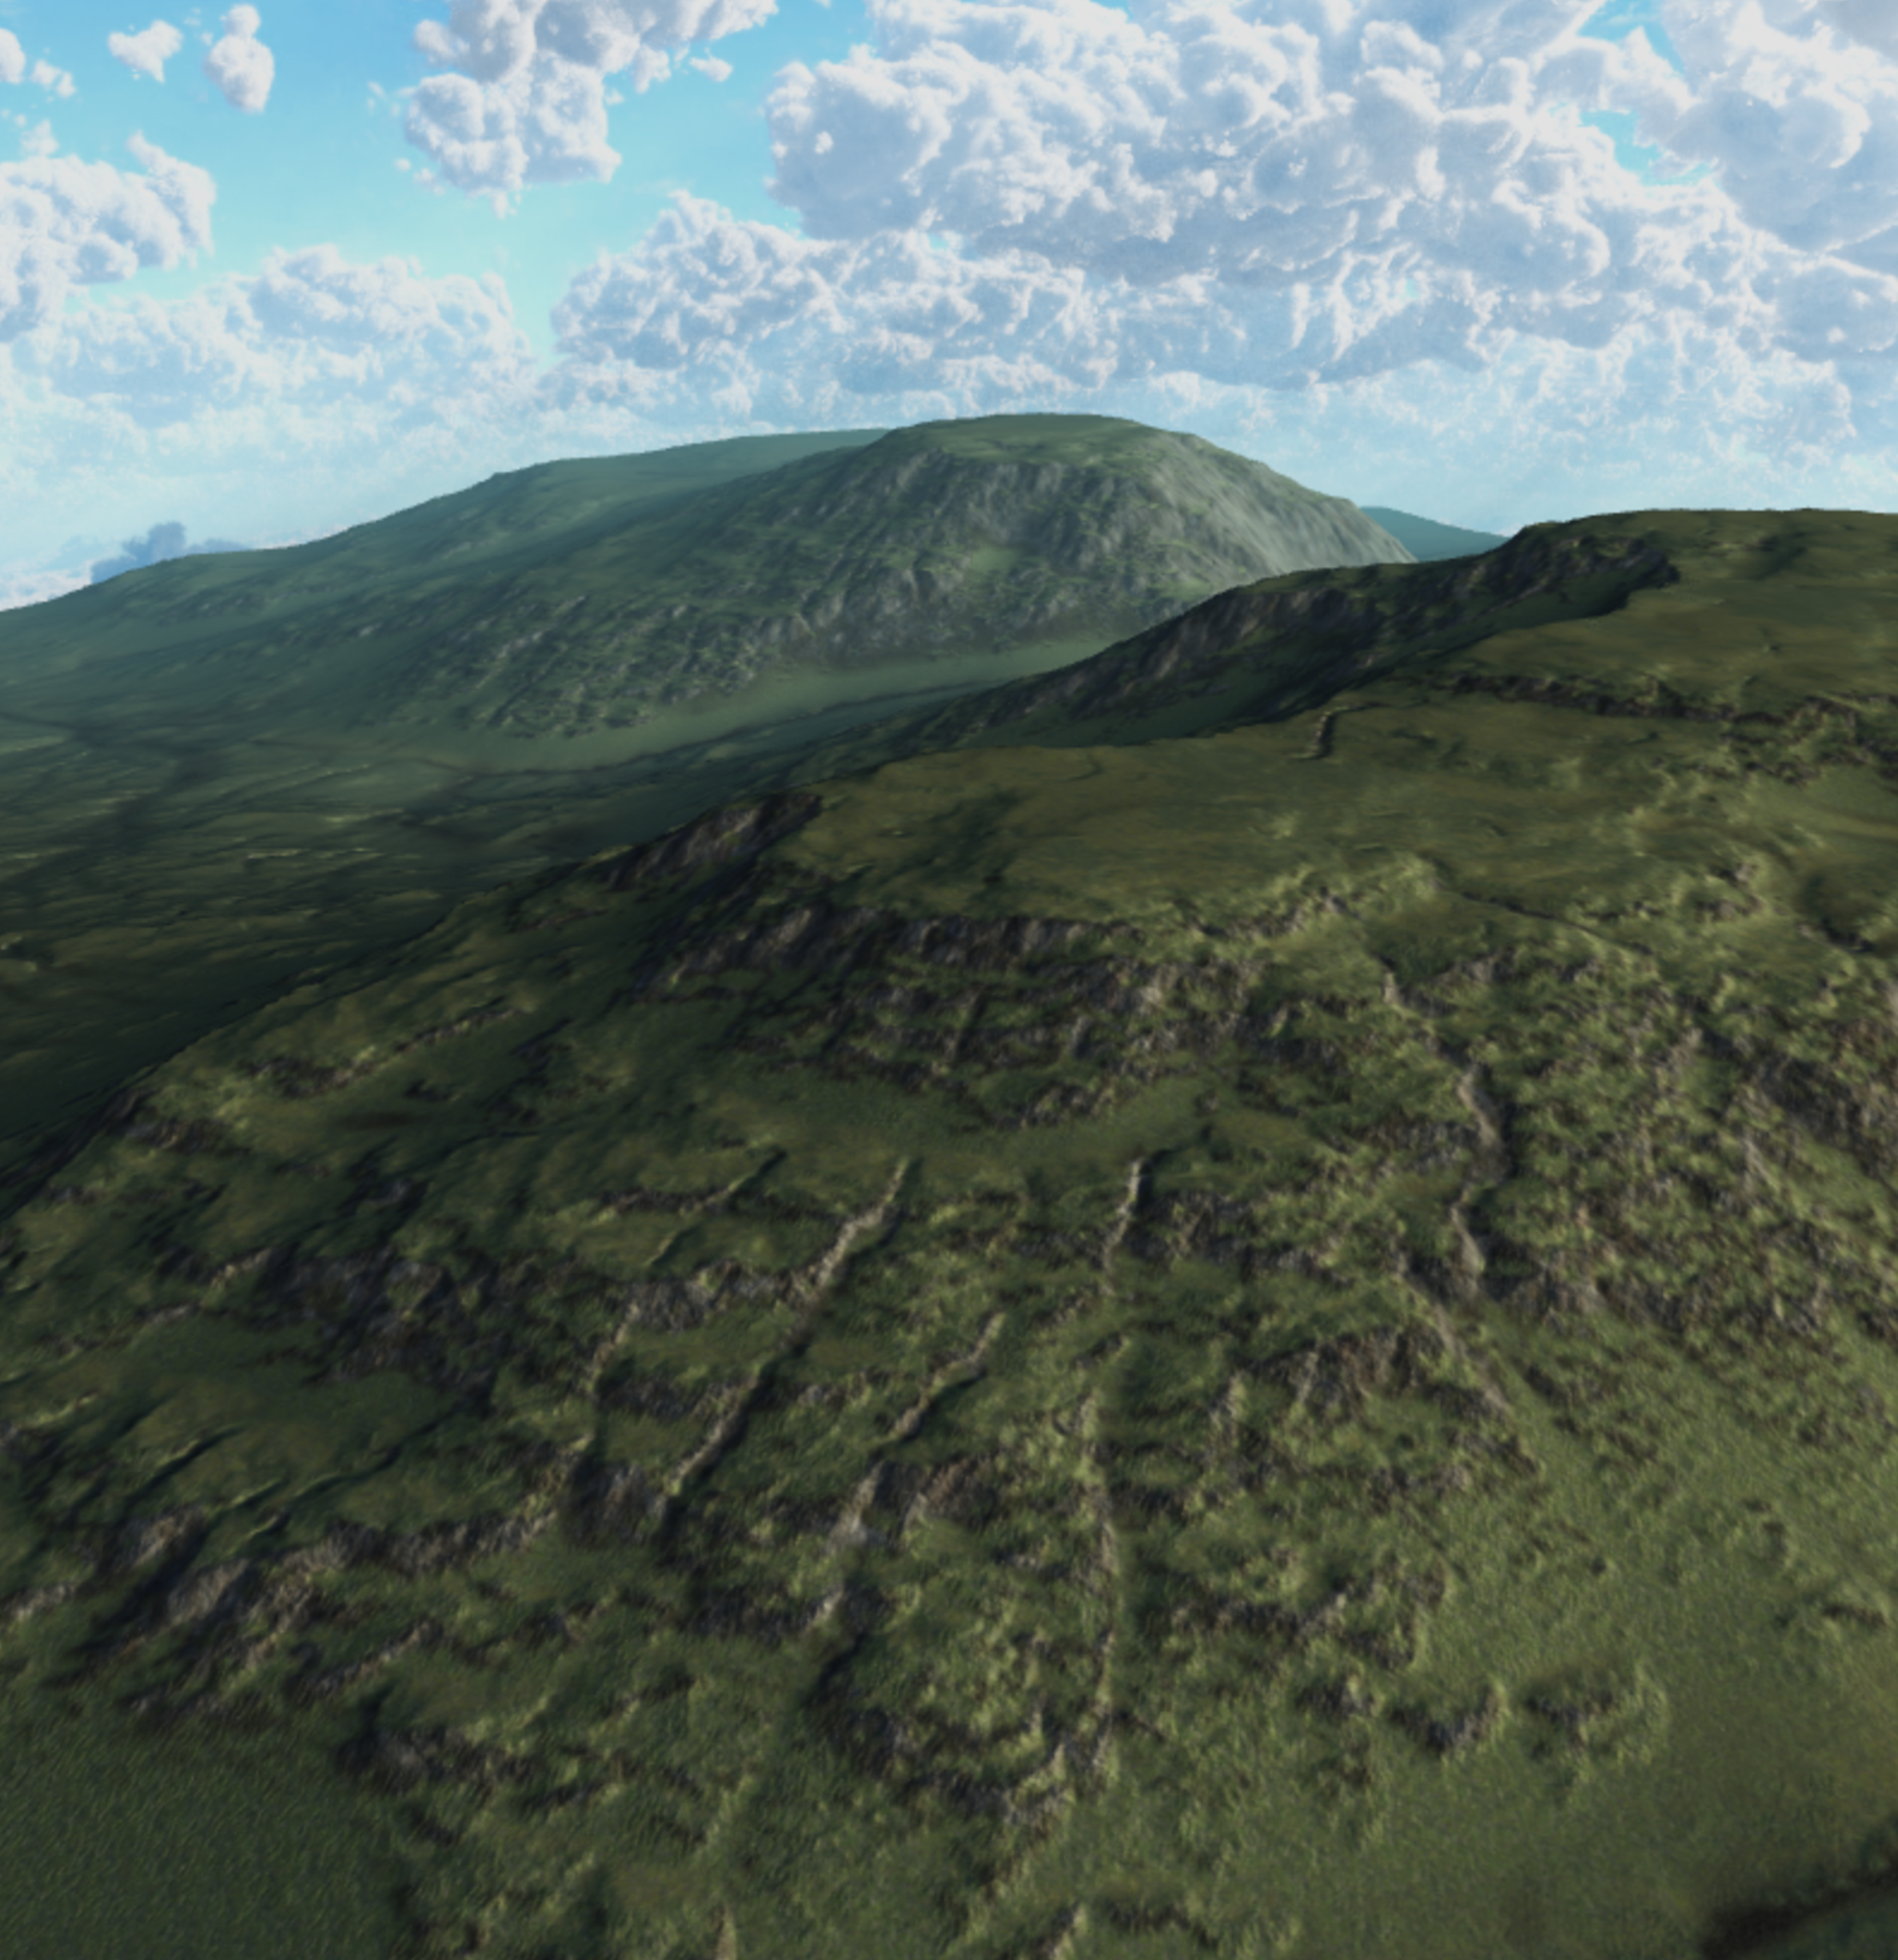
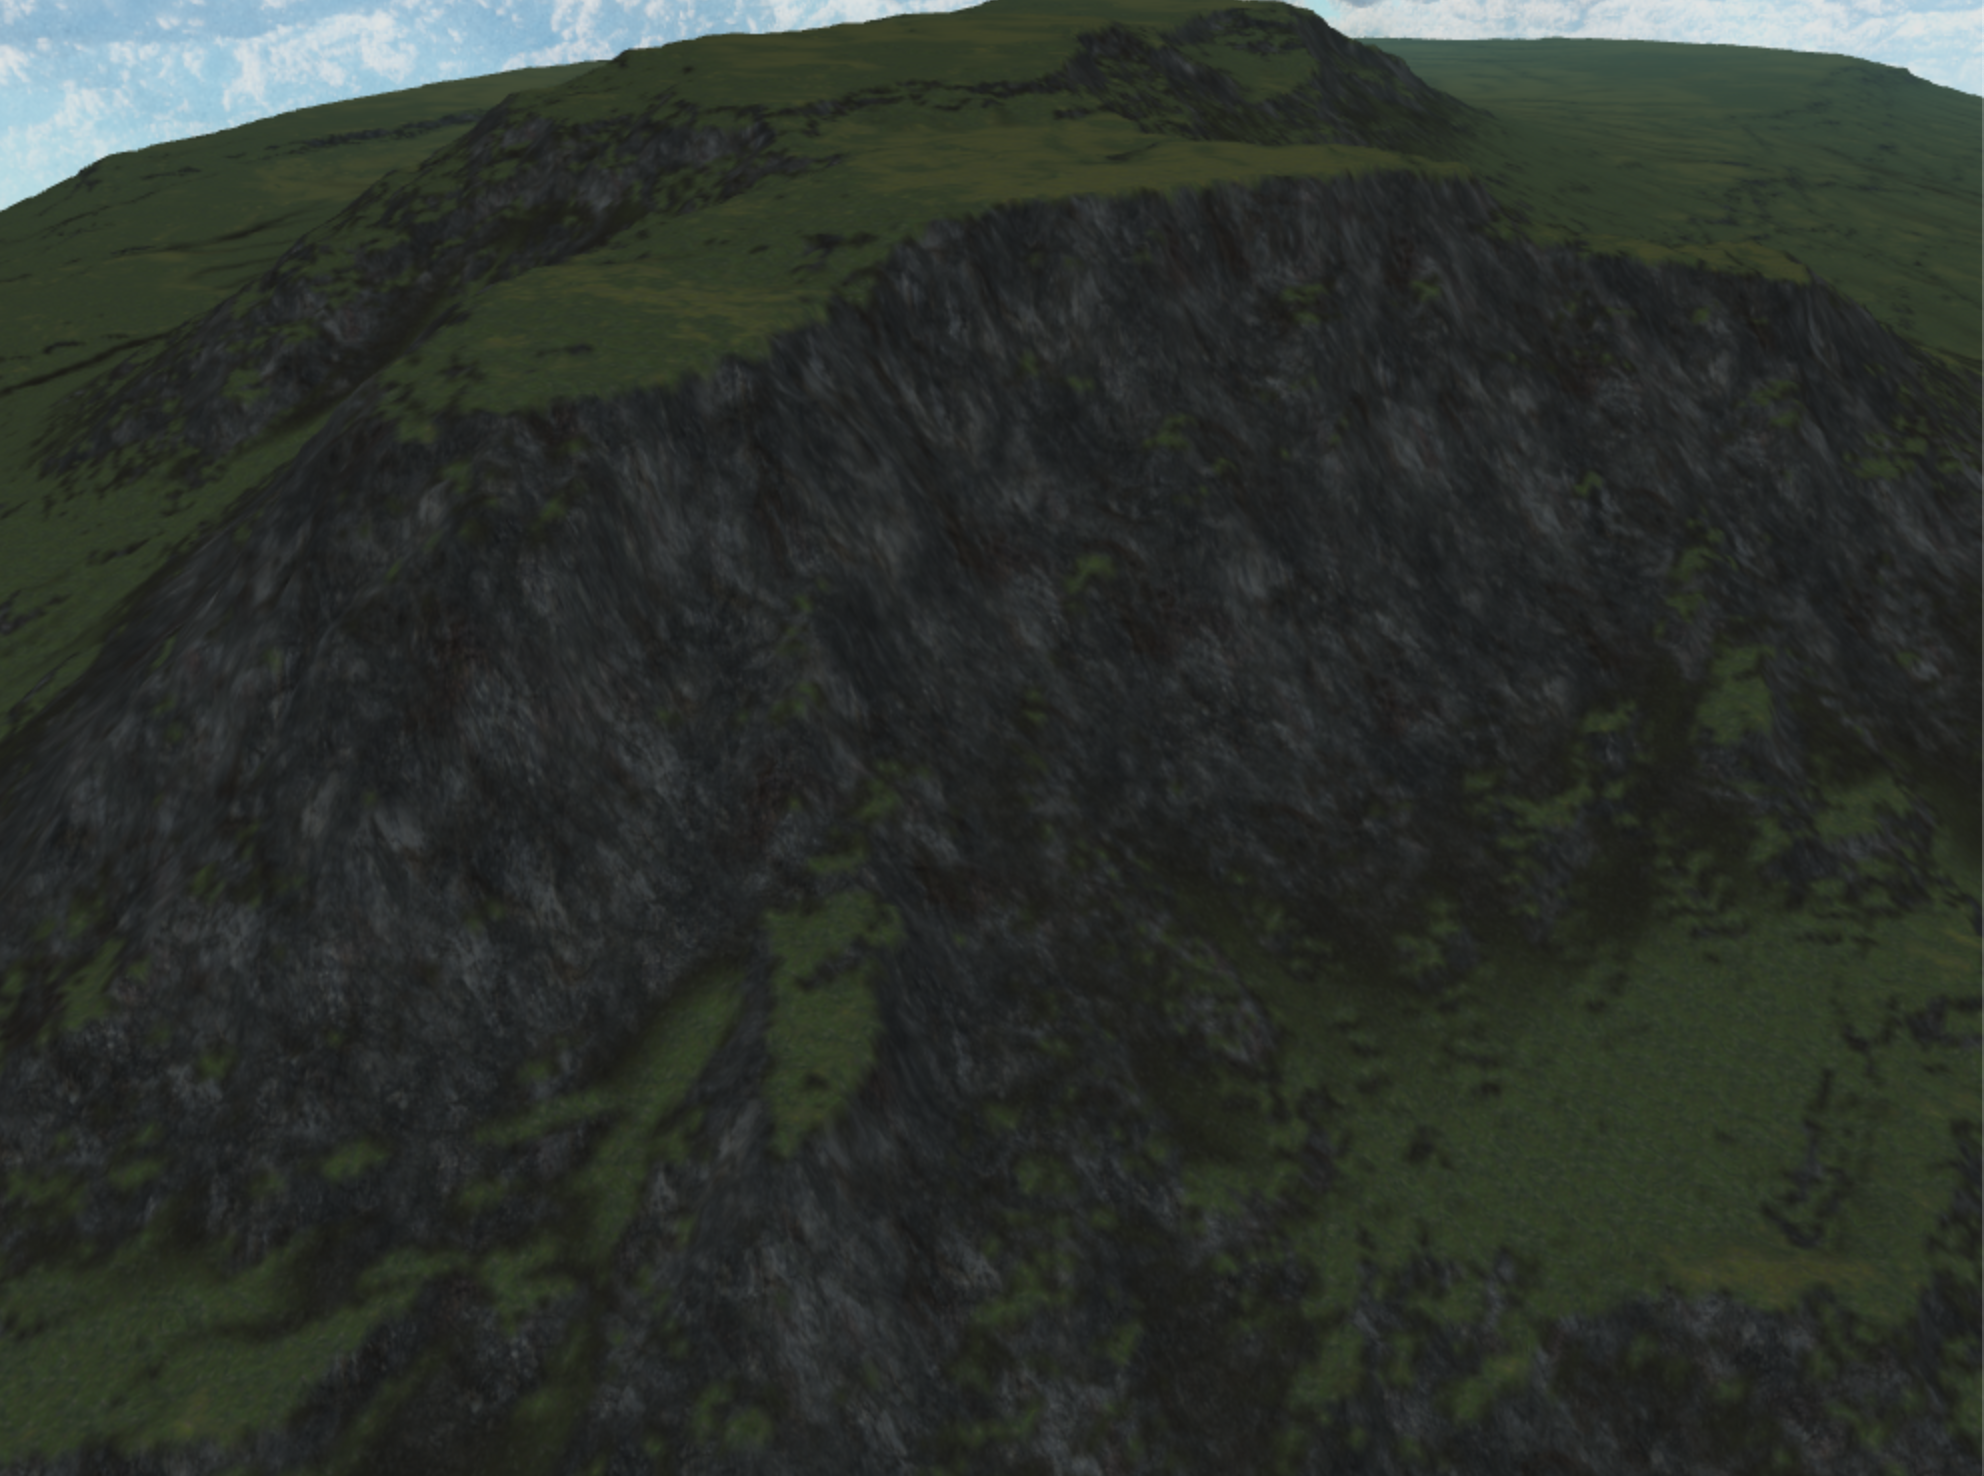
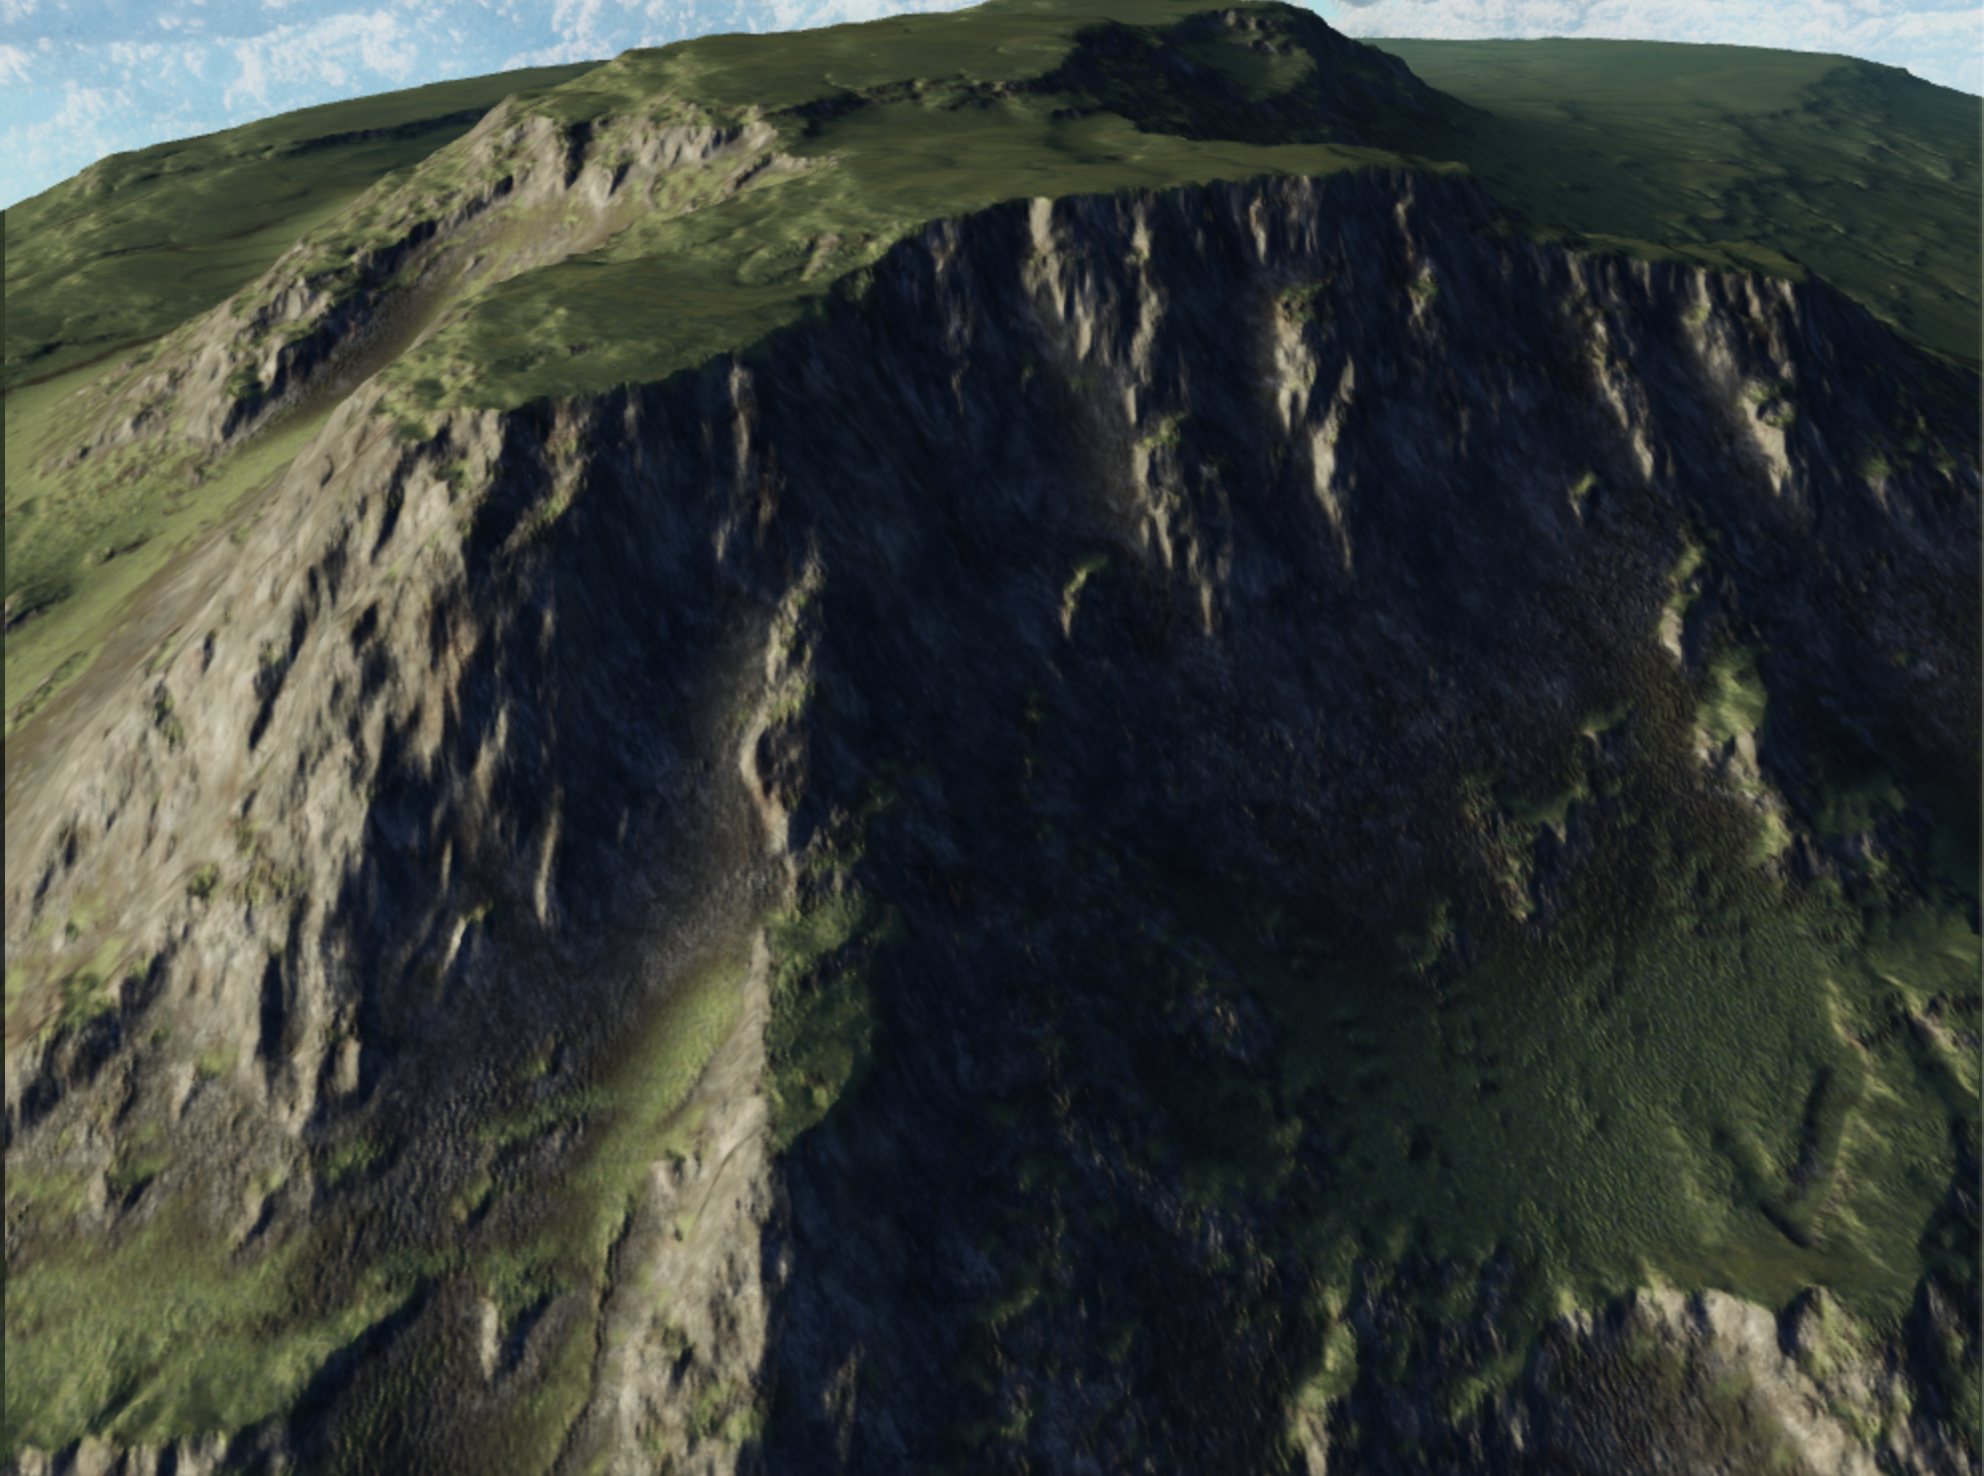
Inspired by some awesome three.js demos, covid related travel bans and maybe just a little too much time on pinterest looking at beautiful travel photos - I set out to see if I could render a convincing landscape scene in the browser using three.js and r3f.
I've spent the last month or so trying different methods and scavenging the internet for tips on how to render semi-realistic landscapes with browser technologies. I found it rewarding but also a lot harder than I anticipated.
I've put together a short guide to summarize what tips and techniques I used to go from A to B:
Quick links
(It uses standard three.js orbit controls, so on desktop use scroll wheel to zoom, left click to rotate, right click to pan.)
TLDR
I extended the three.js standard material with custom utilities specific to terrains. This modified material uses multiple kinds of textures to color, shape and light the terrain. I tile and layer some of these textures to insure the terrain looks good at a greater range of viewing distances.
I chose to generate and export terrain data from a gui called world creator.
TECHNIQUES
Instead of a lengthily tutorial I've structured this article as a list of techniques I used to improve my render. For each technique I’ll provide a quick description, which should help orient you if you’re unfamiliar with it. I'll also provide a tips/tricks section that should shed light on how I used the technique in the example landscape. I'm hoping that will make this more skimmable and useful for people of varying skill levels.
Motivating Limitations:
- The more geometry you have the more work your gpu has to do. Rendering a terrain size object at 100% fidelity in realtime is not possible on current hardware without cutting edge geometry virtualization techniques.
- There are limits to the size of textures we can download in a reasonable time
- There are limits to the size of a texture texture that can be moved into gpu memory with webGL. On older phones it can be as low as 1024x1024
- There are limits to the number of textures(16) webGL will let you use on a single object
Tools:
- React (sorry I can’t help myself)
- Three.js (awesome 3d rendering library)
- React-three-fiber (lets you use three.js in jsx)
- World Creator (used to make the various textures needed to render the scene)
React + r3f is not strictly necessary for this but it should be pretty easy to take these concepts and apply them to a vanilla three.js setup. Also note that World creator is not free but there are lots of alternative ways to generate hightmaps ect.
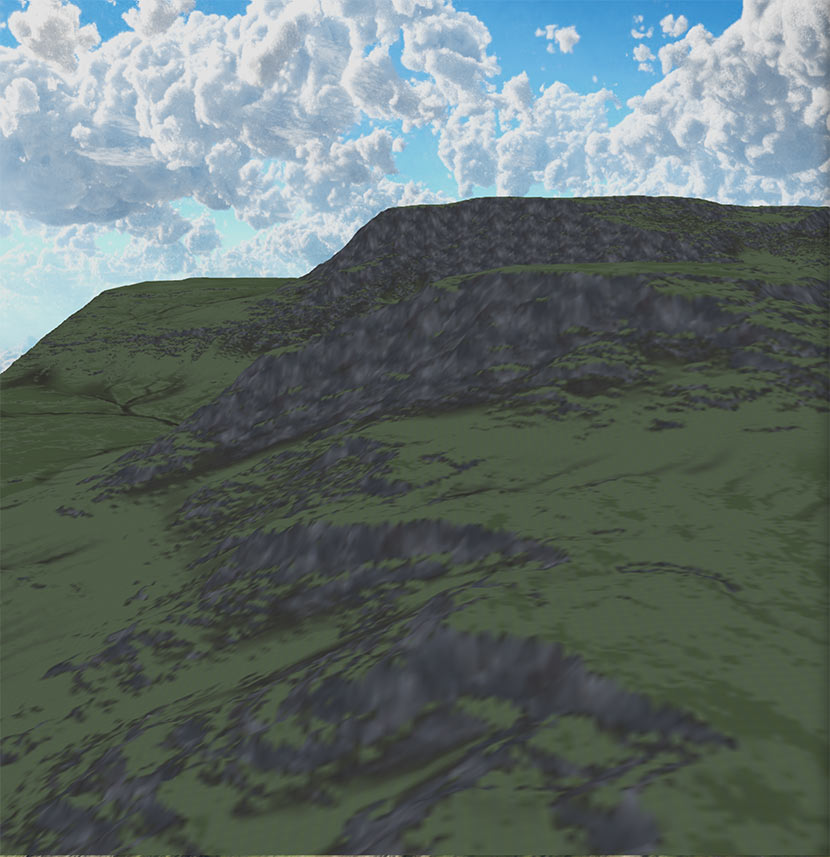
01. Height / displacement map
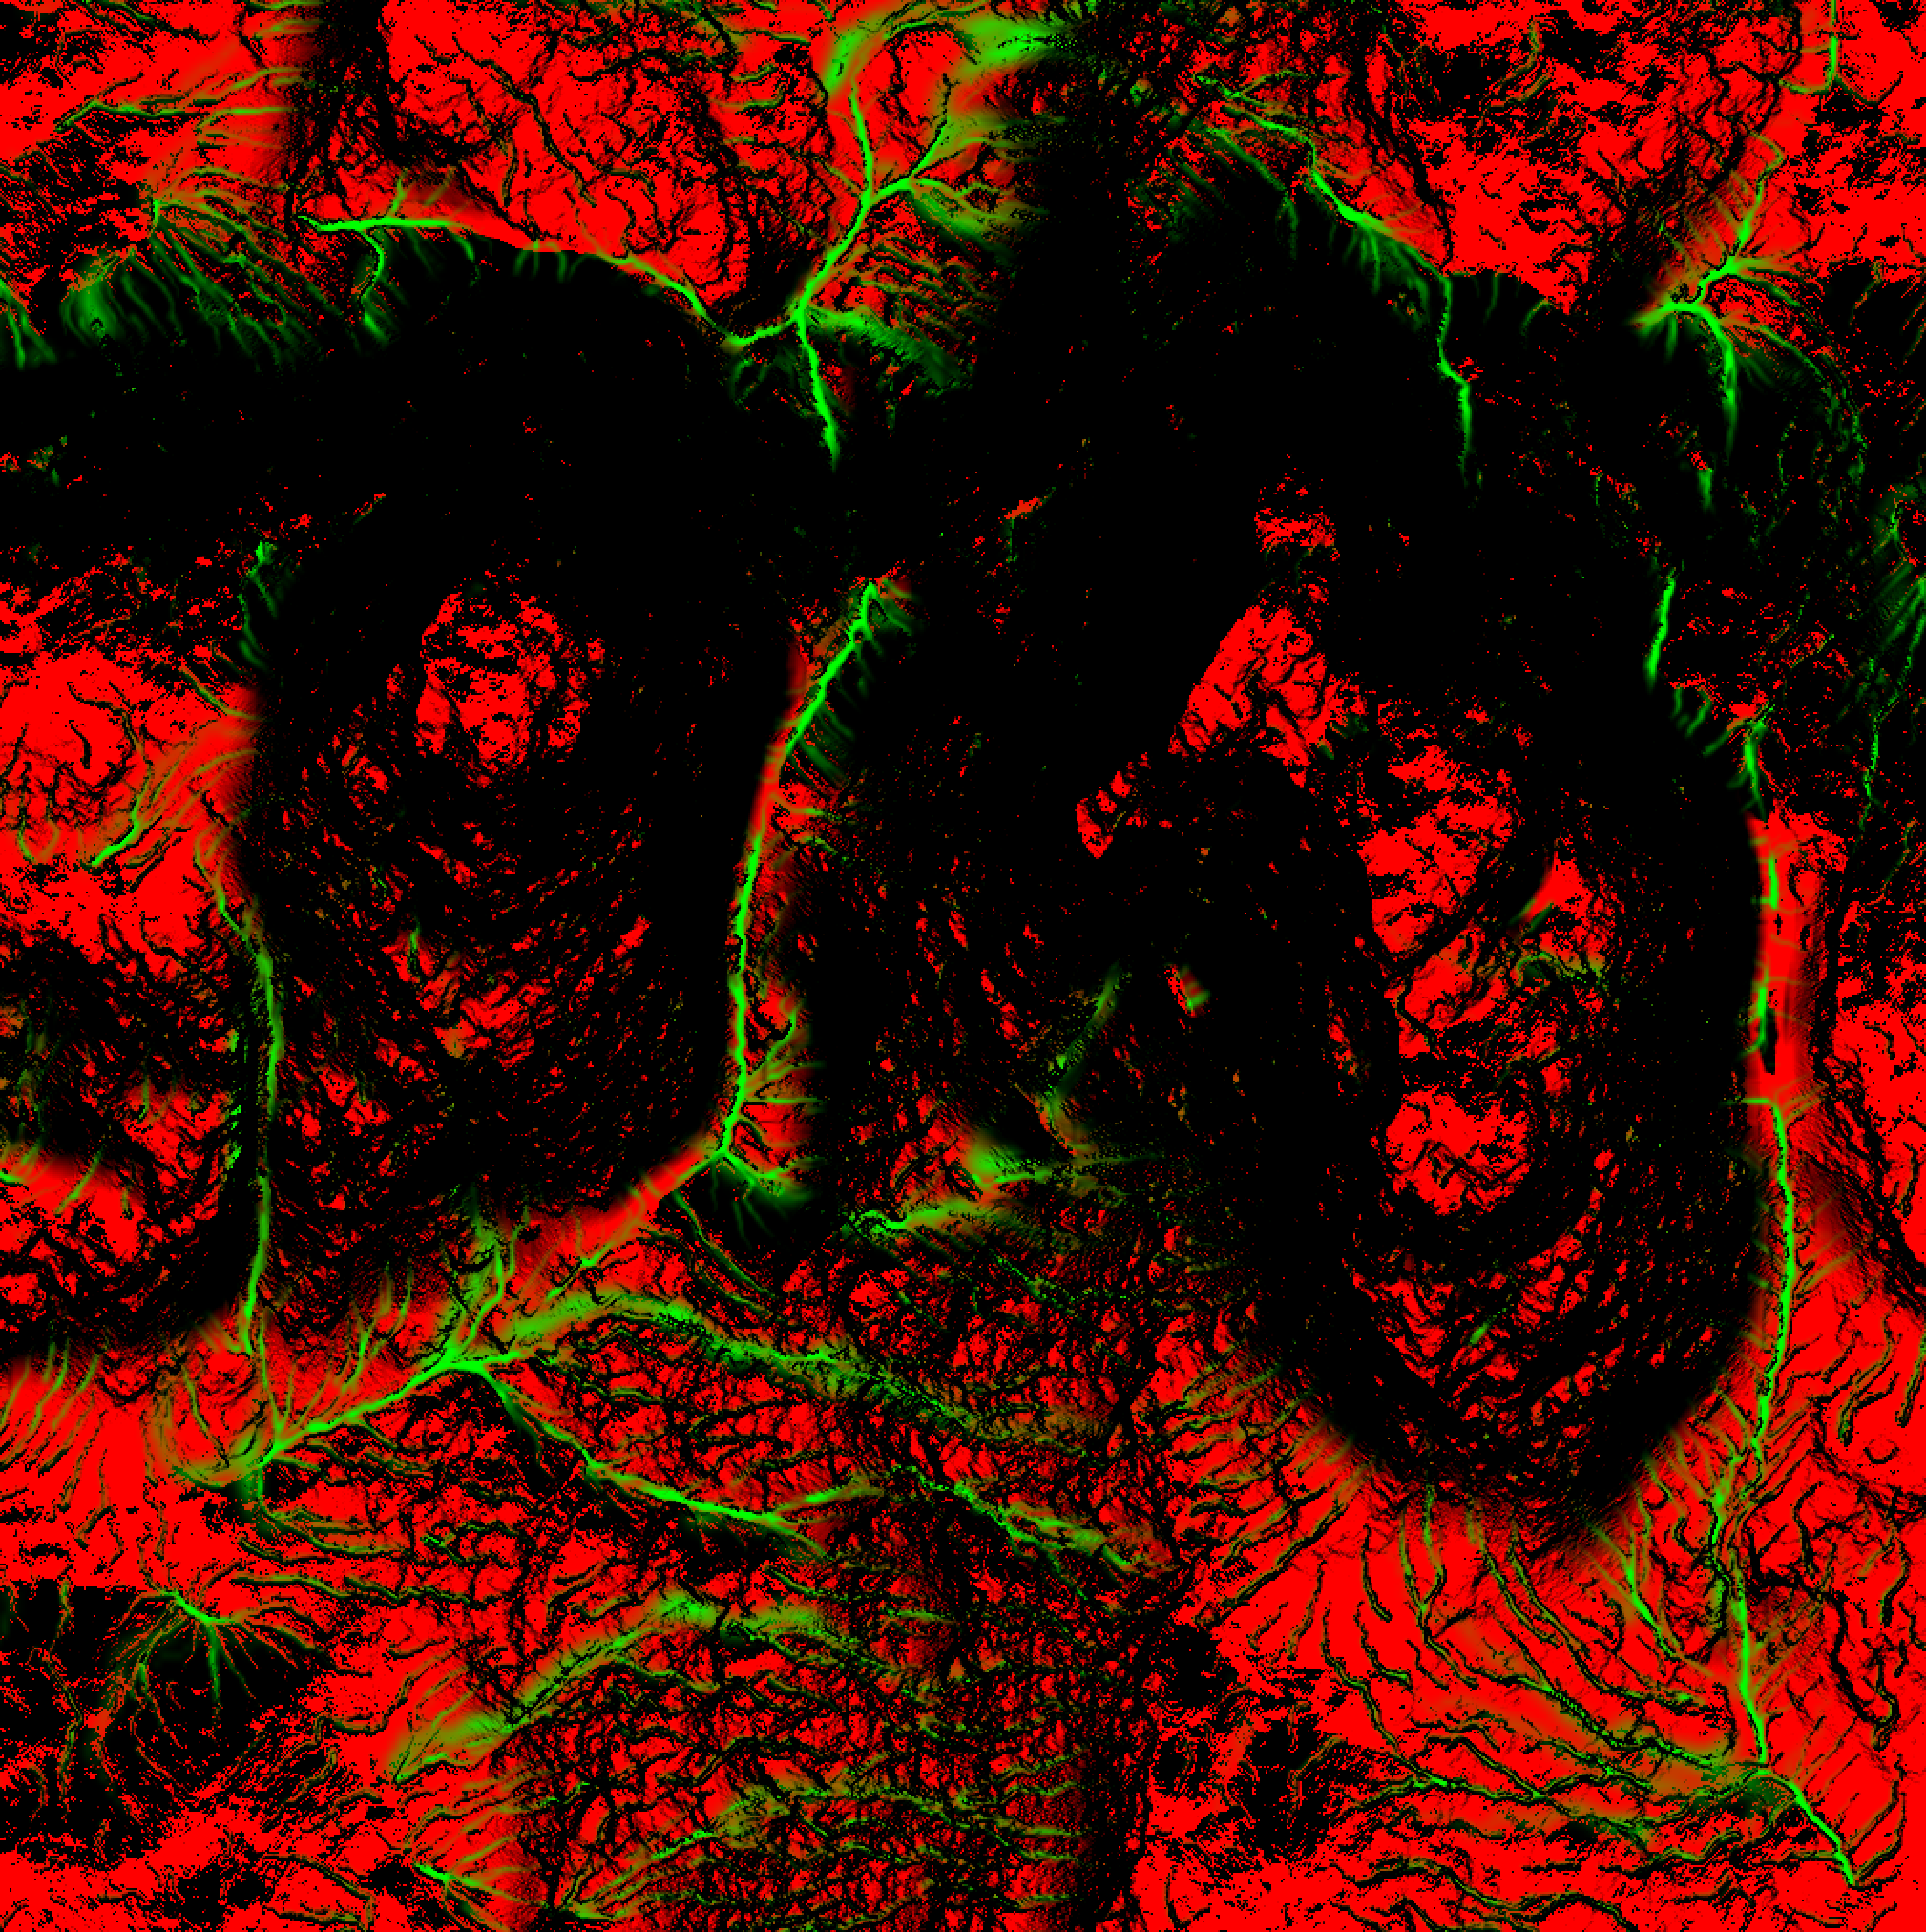
A height map encodes the vertical height of the terrain in a pixel value from 0(black) to 1(white). Three.js comes with code (vertex shader) that will handle the displacement for you. Displacement maps can be used on 3d objects but for landscapes I just used a simple plane. The main thing is to make sure your scale matches up with whatever program or tool generated the heightmap. You can use displacementScale and displacementBias to make three.js’s scale match.
Height maps are images that look like this:
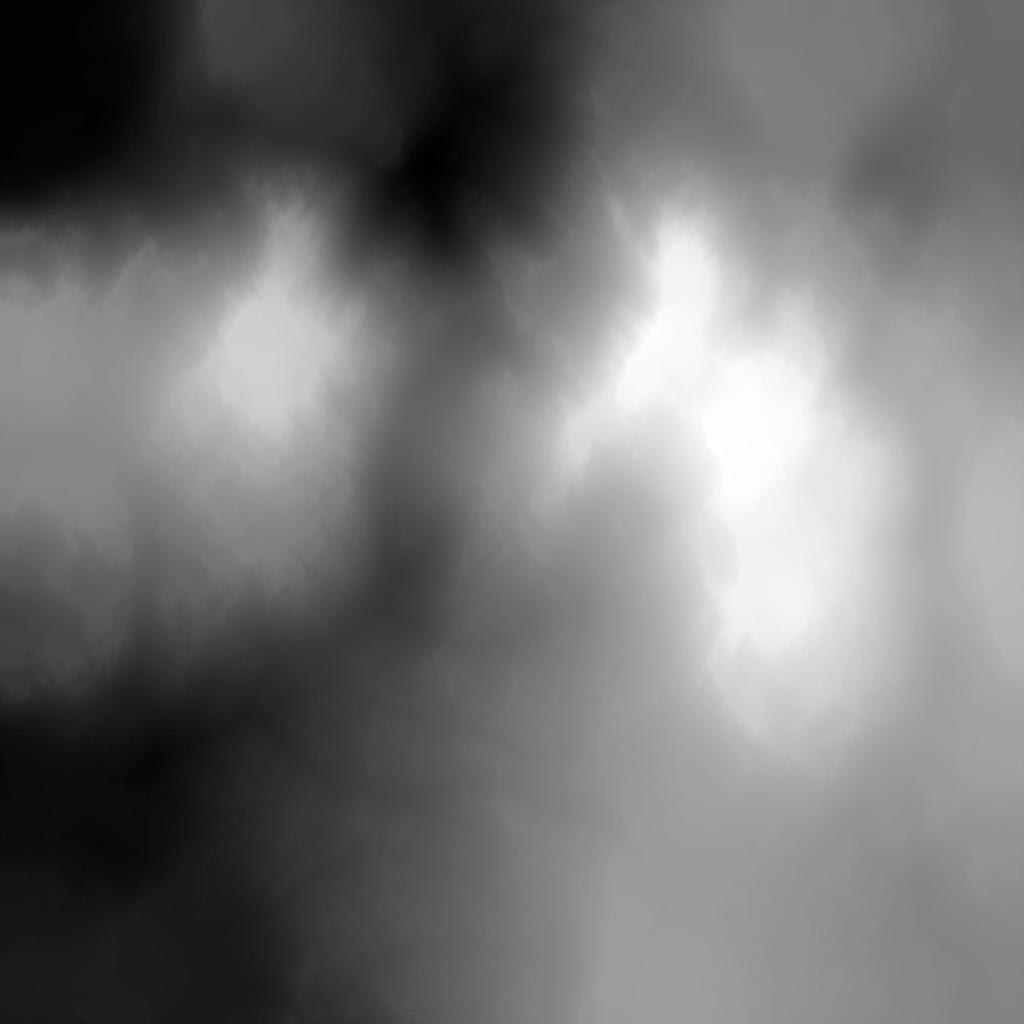
Tip: you need at least one subdivision of the plane for every pixel in your height map. If you have less, there will not be an associated vertex for three.js shader to position.
Trick: Unless the camera is near the ground the heightmap does not need to be particularly high resolution. In the above example I use a 1024*1024 height map. Most of the details that make the terrain look good come from the normal and diffuse maps.
Limitation: 2d-height maps are unable to represent 3d terrain details like caves or overhangs.
02. ATMOSPHERIC FOG:
To over simplify the sky ‘is blue’ so when you look though it actually tints the stuff behind it blue. Fog is a common technique in three.js scenes but its especially critical in landscapes because it helps the viewer interpret the scale and arrangement of hills, trees ect:
<fog attach="fog" args={["#74bbd0", 300, 1800]} />
03. HDRI LIGHTING:
An HDRI (high dynamic range image) is a big texture that wraps around your scene and serves as a more realistic light source for PBR materials. I like that the light has more natural direction and color but finding one that worked for my scene was kinda fiddly. That said, I think it’s worth it because your lighting setup is one of the things that has the biggest impact on the quality and mood of the scene.
// I used the Environment component from Drei with a preset HDRIs
import { Environment } from "@react-three/drei"

export default Landscape(){
    return (
        // landape mesh ect
        ...

        // hdri
        <Environment preset="park" />
    )
}
Tip: https://polyhaven.com/ is a great source for HDRIs
Tip: Play around with different HDRI and envlight levels.
Trick: Play around with the normalScaleparameter envMapIntensity and metalness parameters of the standard mesh material. They give you a lot of control over contrast, depth of color and brightness.
04. SPLAT TEXTURING:
With most 3d objects, we apply color with a single texture called a diffuse texture. If we zoom in close to a terrain sized object this breaks down quickly because file size / memory impact of an image does not scale linearly each time you double its dimensions. Applying a single diffuse texture over a terrain sized object would either be blurry or prohibitively large.
Logically we should be able to get around this problem by mixing and repeating multiple smaller textures, one for each terrain type (grass, mud, rock ect).
Texture splatting is one way to do this. It works by taking multiple textures and associating them with a color channel in another texture called a splat texture. One pixel in the splat texture gets rendered out as say a 100x100 image - depending on the size of our textures and the number of times they are repeated - making the splat texture significantly smaller than a diffuse texture of the same level of detail.
For example, if a pixel in the splat is pure red then we render the area as mud and if its pure green then render it grass and if its a mix of red and green then we can linearly combine the rgb values of the tile texture to more naturally blend between grassy and muddy areas. The blending is essential to prevent it from looking like a Minecraft map.
// inside the main function of the fragment shader ...
vec4 diffuse1 = texture2D(uDiffuse1, uv * 100.0);
vec4 diffuse2 = texture2D(uDiffuse2, uv * 100.0);
vec4 splat1 = texture2D(uSplat1, uv);

vec4 color = diffuse1 * splat1.r + diffuse2 * splat1.g;

diffuseColor = vec4( color.rgb, opacity );
Tip: World creator exports splat textures in TGA format which I had never heard of before and found somewhat hard to work with but fortunately Three.js examples include a TGA loader that handles loading .tga files into a dataTexture.
Limitation: texture tiling results in obvious texture repetition, which we’ll solve using the next technique
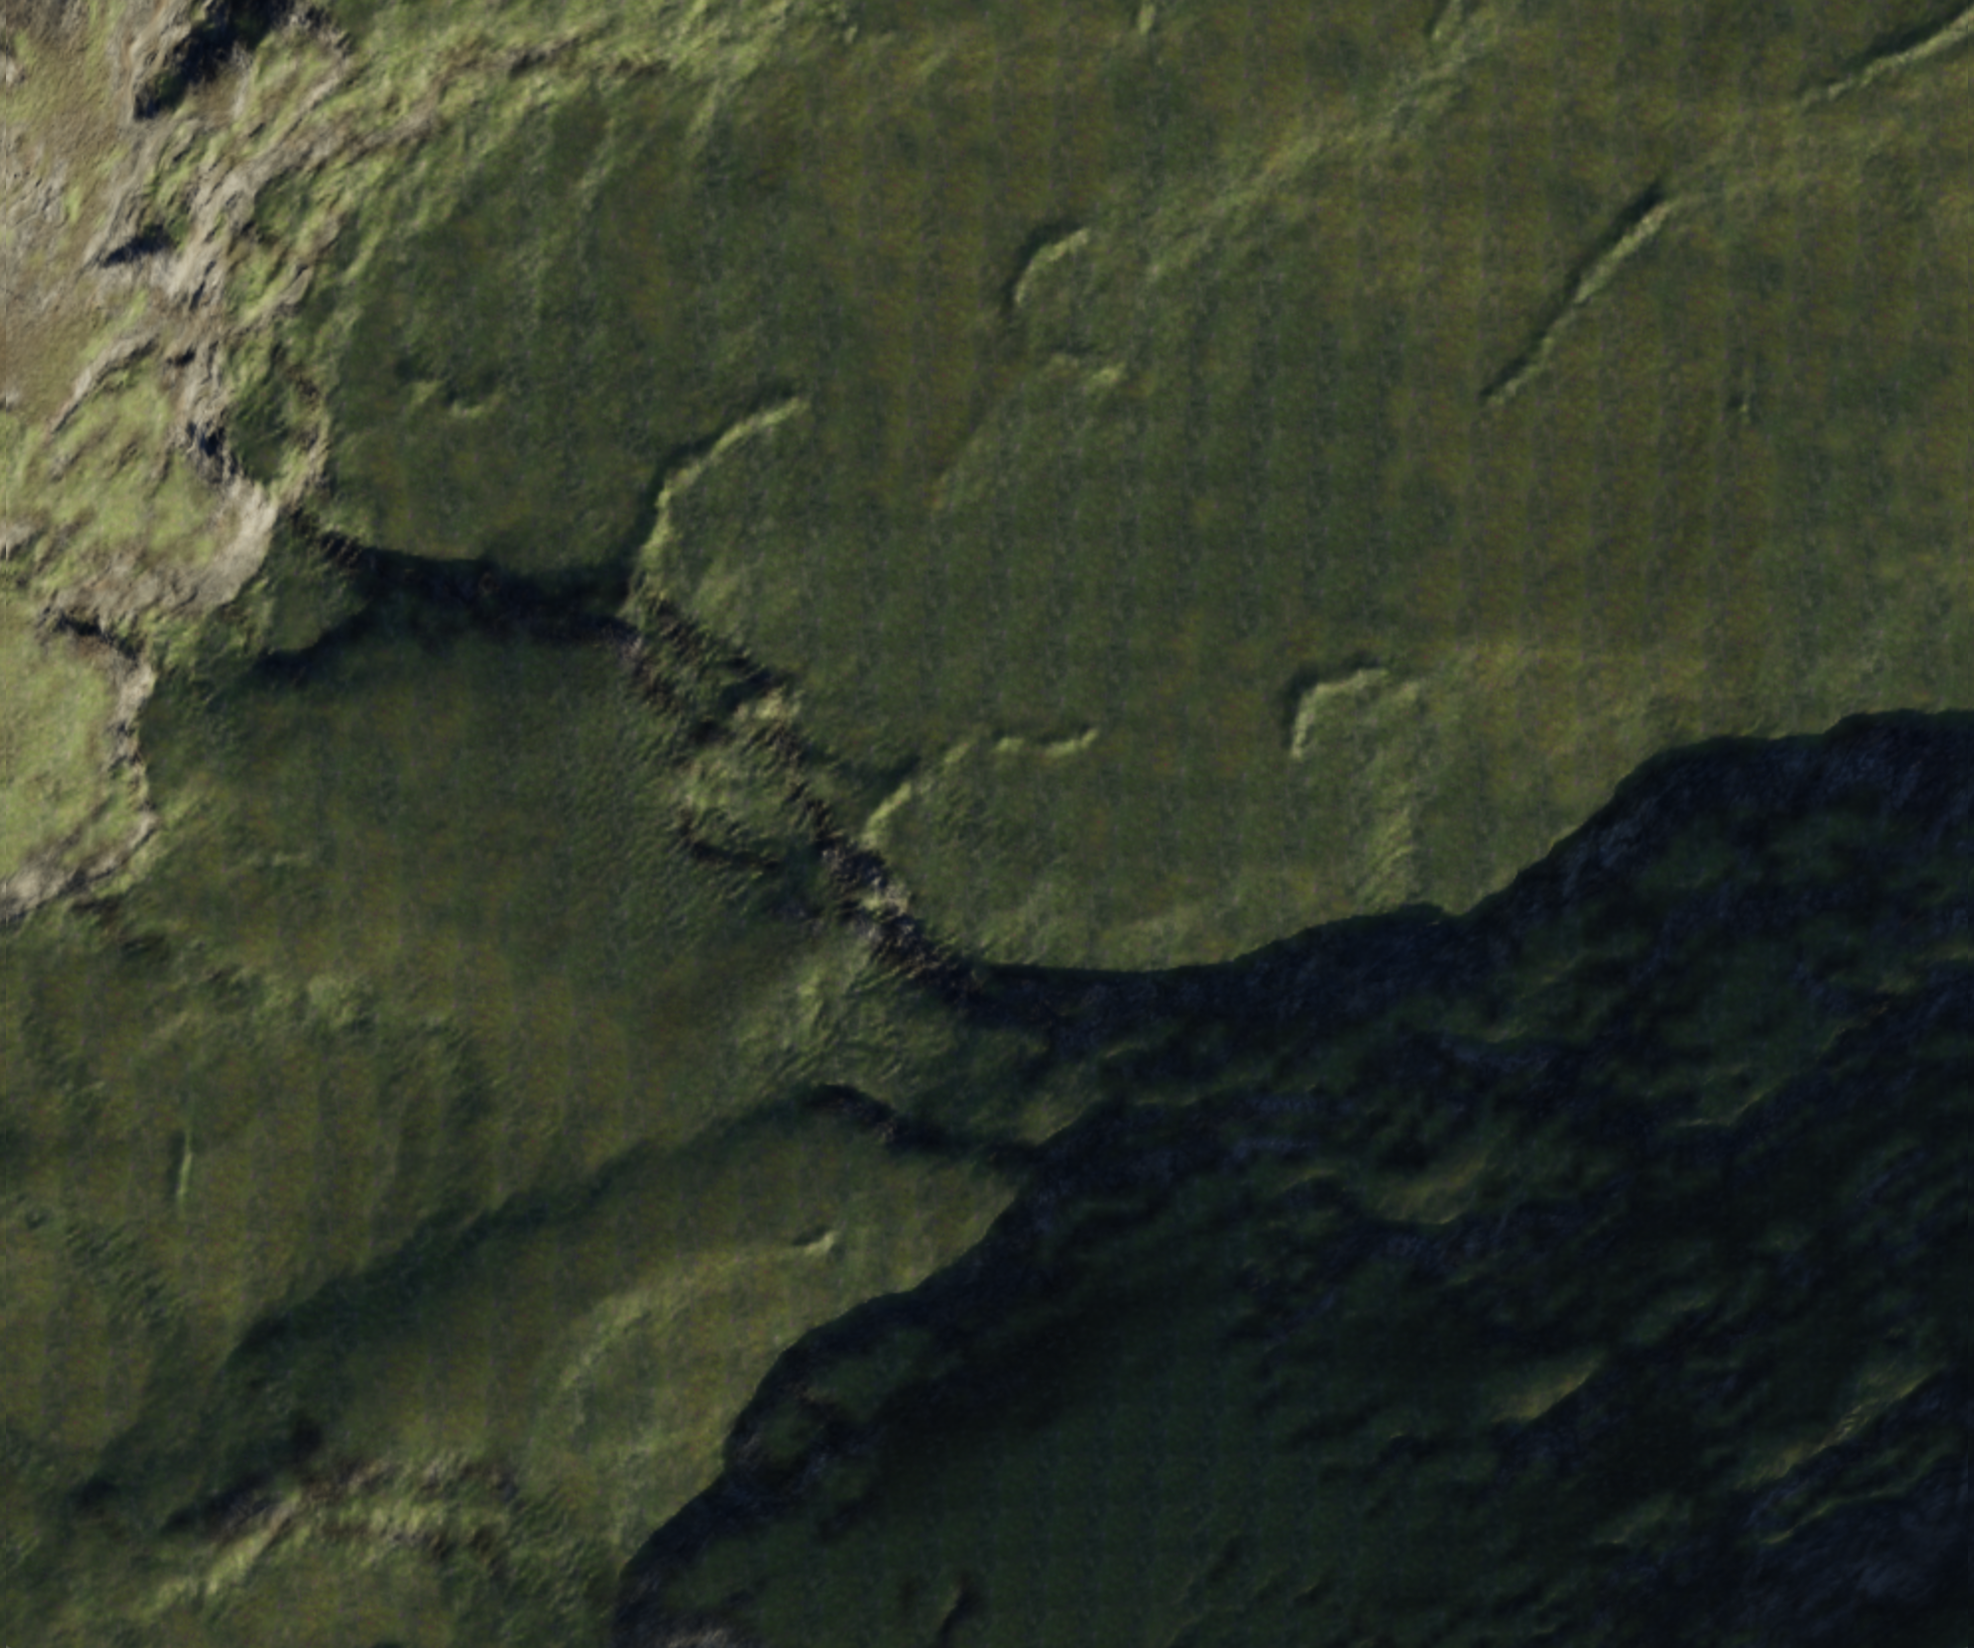
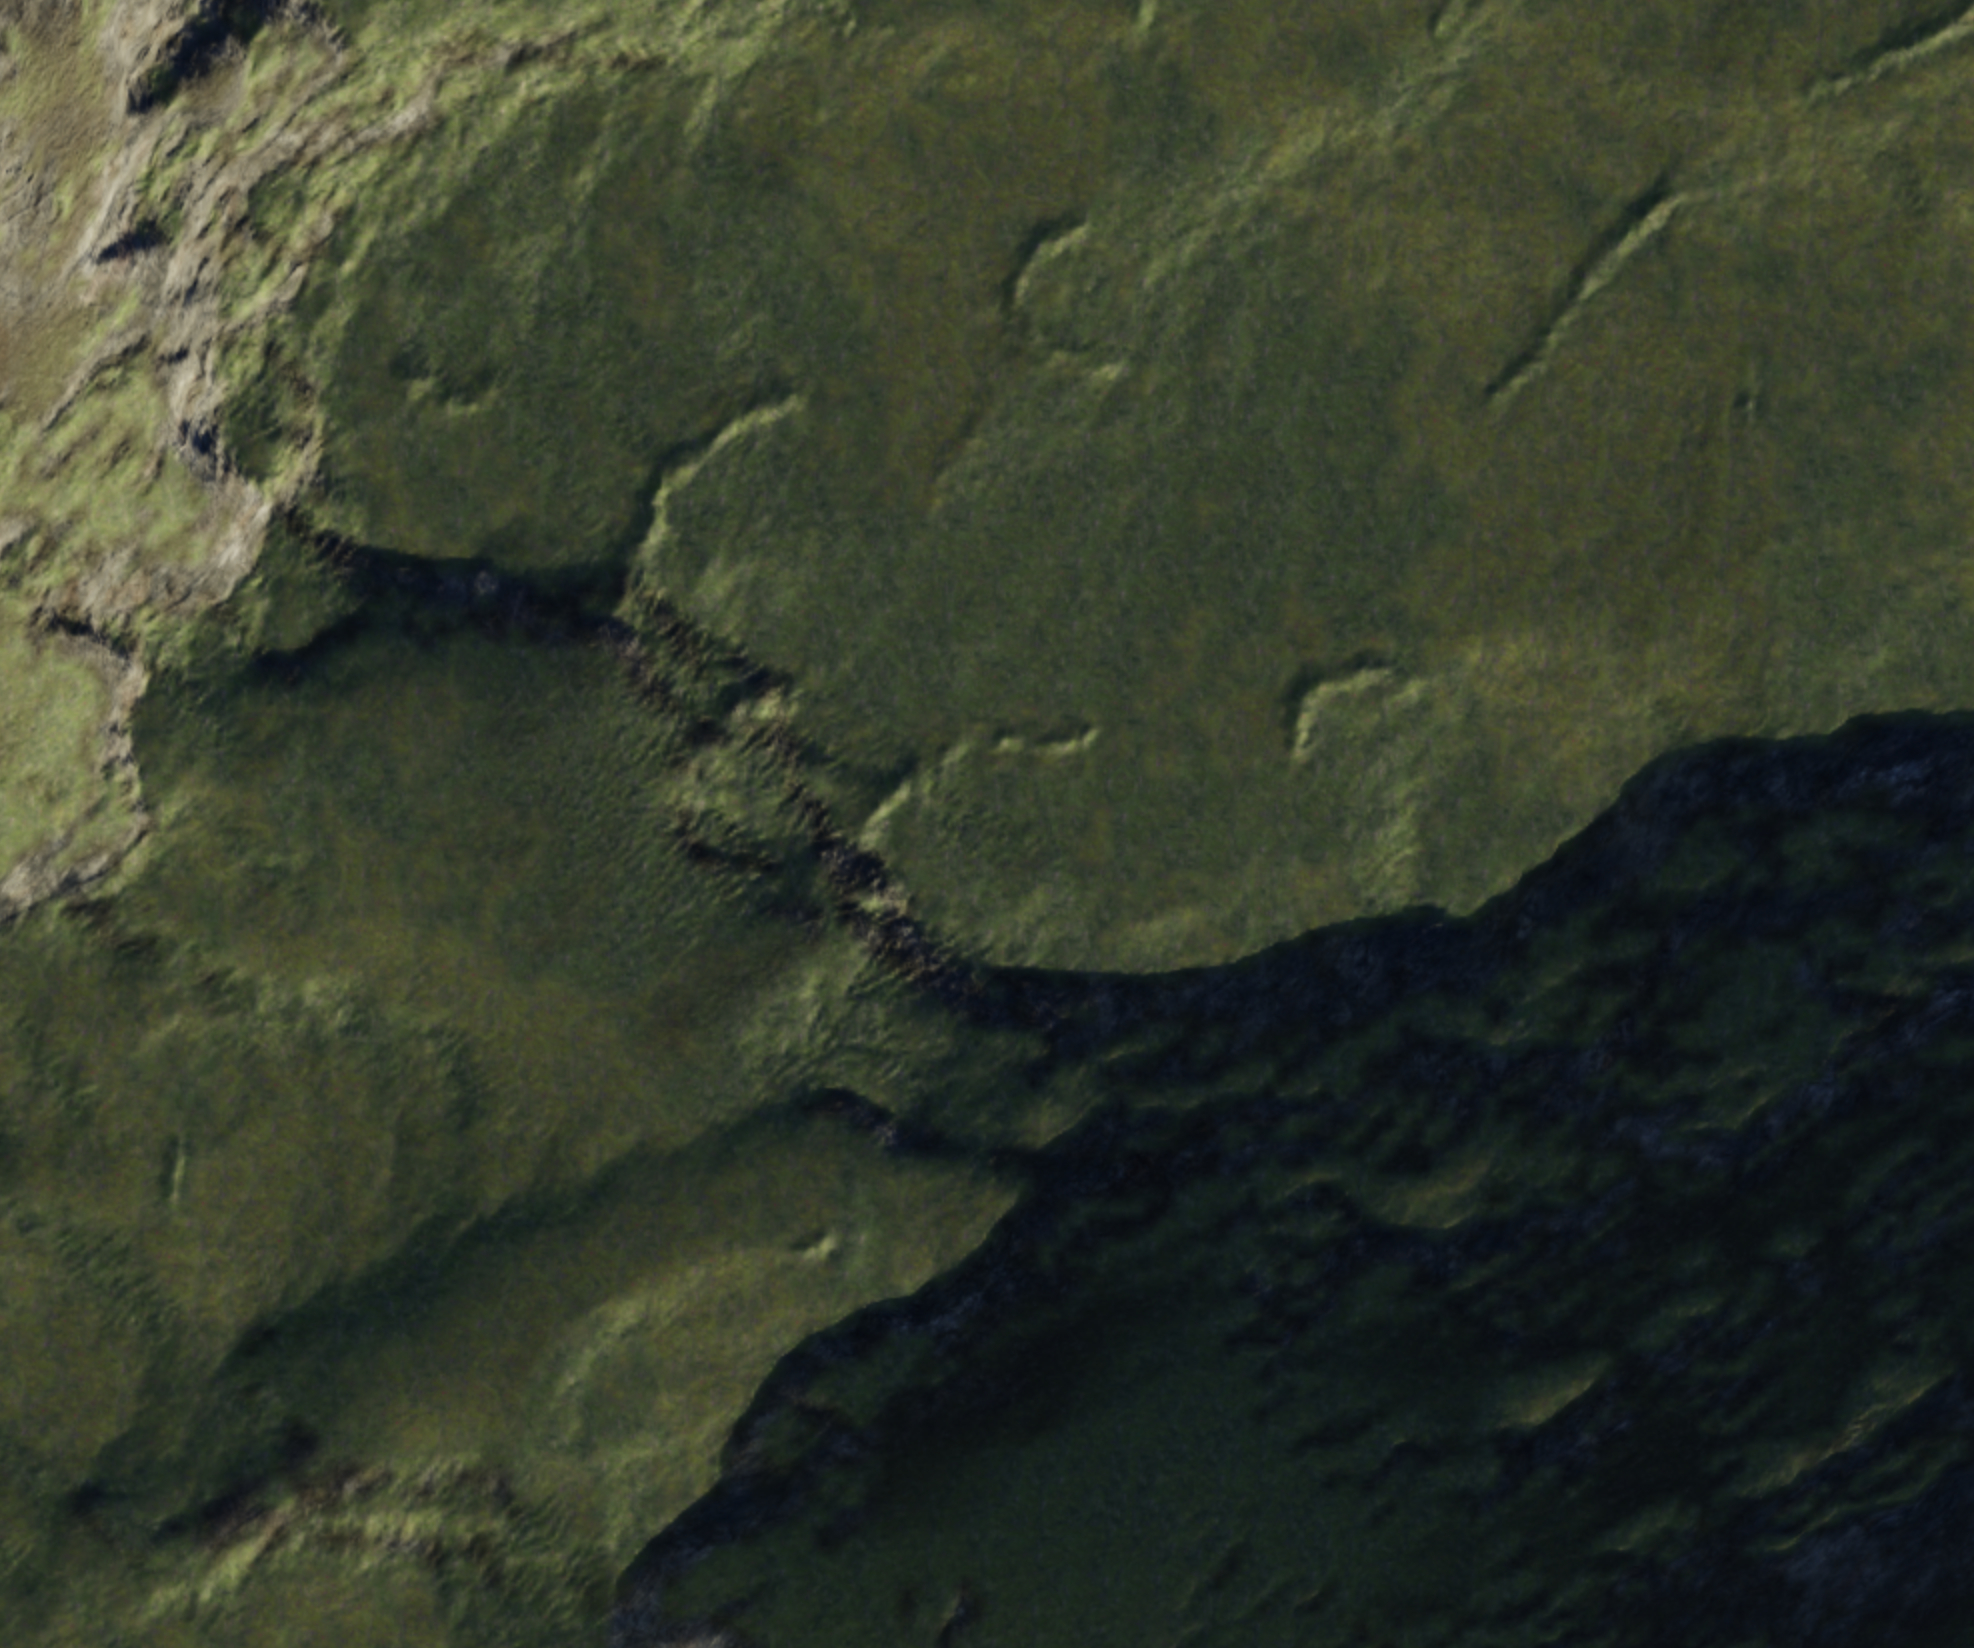
05. HIDING TEXTURE REPETITION:
Although it's easy to do so, nothing requires us to lay down the textures in the type of grid pattern that creates the undesirable tiling effect. Inigo Quilez has a great article on multiple ways of fixing texture repetition, which I used in my scene.
To oversimplify, the technique essentially boils down to using a random noise texture and some math to more organically place and blend the texture seamlessly across the surface of the mesh.
// use instead of texture2D
vec4 textureNoTile( sampler2D samp, vec2 uv ){
    // sample variation pattern
    float k = texture2D( uNoise, 0.005*uv ).x; // cheap (cache friendly) lookup

    // compute index
    float l = k*8.0;
    float f = fract(l);

    float ia = floor(l);
    float ib = ia + 1.0;

    // offsets for the different virtual patterns
    float v = 0.4;
    vec2 offa = sin(vec2(3.0,7.0)*ia); // can replace with any other hash
    vec2 offb = sin(vec2(3.0,7.0)*ib); // can replace with any other hash

    // compute derivatives for mip-mapping
    vec2 dx = dFdx(uv), dy = dFdy(uv);

    // sample the two closest virtual patterns
    vec3 cola = texture2DGradEXT( samp, uv + v*offa, dx, dy ).xyz;
    vec3 colb = texture2DGradEXT( samp, uv + v*offb, dx, dy ).xyz;

    // // interpolate between the two virtual patterns
    vec3 col = mix( cola, colb, smoothstep(0.2,0.8,f-0.1*sum(cola-colb)) );
    return vec4(col,1.0);
}
06. NORMAL MAPS:
They let us encode the ‘normal’ angle to a surface at a given point. It’s kinda a hack but it helps determine the amount of light that would bounce off that object and toward the camera allowing us to smooth out or create additional detail without rendering additional triangles. Again this is something that is built into the THREE.js physical material.
Tip: having a normal map on detailed things like rocks is way more important than having the highest resolution diffuse texture you can find.
07. MULTIPLE LEVELS OF NORMAL:
World creator exports a normal map for the whole terrain but also a normal for the rock texture we’ve tiled across the landscape.
Ideally the scene would benefit from both the macroscopic cliff face normal as well as the more nuanced bumps and cracks of tile level normals. Unfortunately, if you just add the normal textures together they get muddy and/or can get super bright or dark spots in some places.
Stephen Hill has a really good summary of the problem and potential solutions. It adds some complexity to the shader but it's worth it in my opinion: https://blog.selfshadow.com/publications/blending-in-detail/
// adapted from original article so more than two normals
// can be blended
vec4 blend_normals(vec4 n1, vec4 n2){
    vec3 t = n1.xyz*vec3( 2,  2, 2) + vec3(-1, -1,  0);
    vec3 u = n2.xyz*vec3(-2, -2, 2) + vec3( 1,  1, -1);
    vec3 r = t*dot(t, u) /t.z -u;
    return vec4((r), 1.0) * 0.5 + 0.5;
}

//usage:
vec4 blend = blend_normals(n1, n2);
vec4 triblend = blend_normals(blend, n3);
Tip: using multiple normals tends to work best when they are repeated at a different scales. Even though the aforementioned technique is more mathematically correct than the simple linear combination, I found applying multiple normals of the same size eventually just ends up looking like random noise. In the demo rocks I use one large one for landscape details, a medium one for the crags in the rock and a tiny one for additional bumpy texture.
FUTURE IMPROVEMENTS
Implementing a quadtree based level of detail system and texture streaming to render higher definition textures near the camera could improve quality and reduce the intial loading time.
A vegetation system for rendering swaying grass or rendering moss near the camera would also help increase the fidelity of the scenes to the point where you could conceivably walk around the map using a 3rd person controller.
SO LONG AND THANKS FOR ALL THE FISH
Anyway thanks for reading if you've gotten this far, hope you found it helpful and feel free to reach out with any questions or suggestions.
Not sure I've quite honed in on the ideal interface to abstract over these concepts yet but to make what I've built so far reusable I created a public module you can feel free to use in your own projects: https://www.npmjs.com/package/three-landscape
like what you read?
subscribe to my newsletter to get notified when I post new content!